How to Create and Setup a Debian KVM VPS with Proxmox VE 6 — Part II — Debian Install
Written by @Not_Oles, 21 Apr 2021
Article was migrated from WordPress to Vanilla in March 2022

Introduction
In Part I of this series, we downloaded the Debian netinst install iso. We then created a KVM VPS with the iso attached, and, finally, we successfully booted the iso.
In today's post, we're going to install our KVM with Debian 10 from the newly booted iso. But first, a bit of context on installing.
Context
- Why the Debian minimal netinst iso?
Debian themselves say, "we think that in many cases the minimal CD image is better — above all, you only download the packages that you selected for installation on your machine. . . ."
What we gain from this series is a well-proven, widely used, minimal, highly extensible, open-source server operating system.
- What about networking?
The biggest difference between installing on our VPS and installing on our personal laptop or desktop might be network configuration. On personal devices, we are used to automatic network configuration happening behind the scenes via Dynamic Host Configuration Protocol (DHCP). We turn on our device, it gets its own IP address and internet connection without our having to do much.
On servers, however, the server's IP address and internet connection sometimes are set by hand instead of automatically via DHCP. Traditionally, server network settings are done from a console physically connected to the running server. Obviously, however, if our server is at a remote location, we cannot have a wired connection. Also, since networking hasn't yet been set up inside the server, we can't connect directly to our remote server over the internet, either.
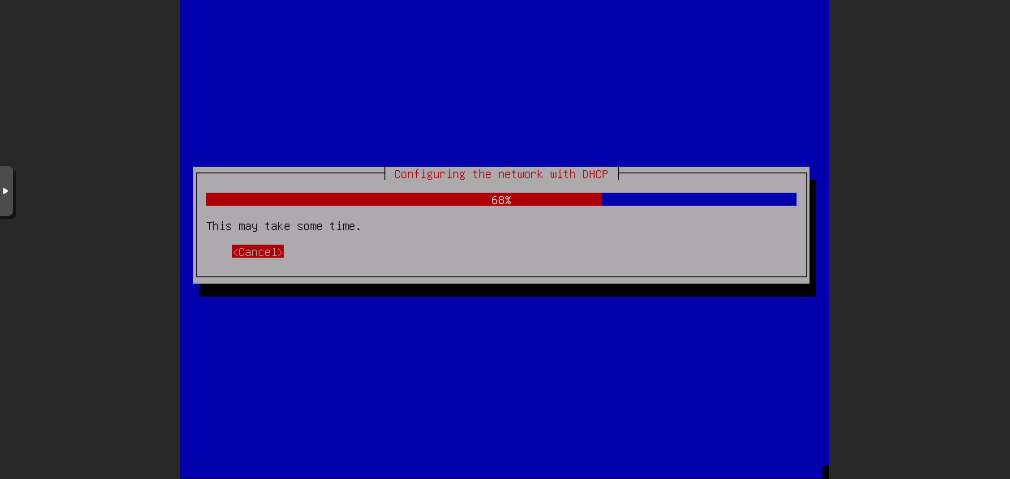
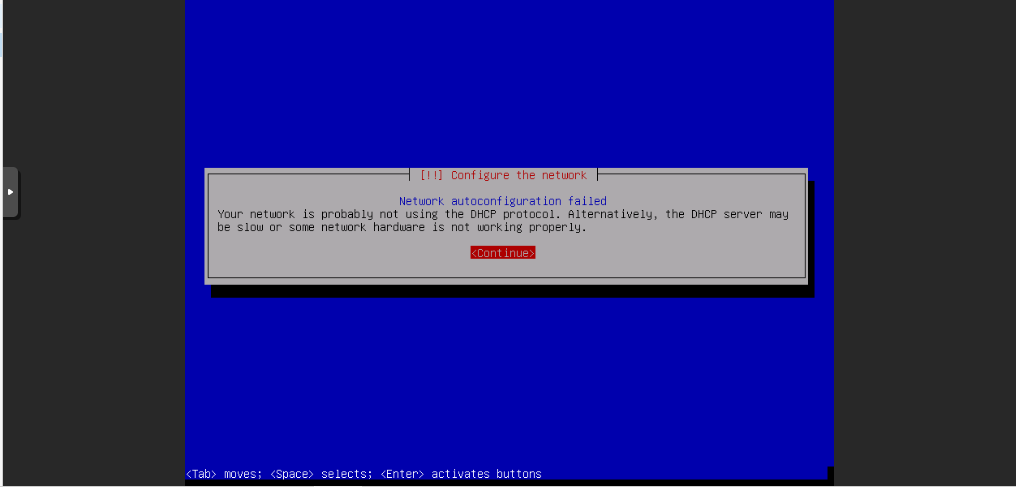
As might be expected, the Debian minimal netinst iso is set up to configure networking automatically via DHCP. Thus, when we try the networking step of the install, that step will fail. The netinst iso will succeed, however, in installing a minimal Debian system without networking. In Part III of this series, covering Post Install Configuration, we will use the Proxmox web GUI and VNC to go inside our minimal system and set up networking by hand.
- Alternative installation methods
It might be worth mentioning a few of the many other excellent methods of server installation which, although frequently used, are not selected here because they might be even more complex than our "simple"  method.
- First, Debian unattended Installation using a preseed file will not work here because no networking is set up to use for obtaining the preseed file.
- Cloud-init is "the industry standard multi-distribution method for cross-platform cloud instance initialization." However, the Proxmox Cloud-Init Support wiki article says, despite the convenience of ready-made images, "we usually recommended to prepare the images by yourself," because "you will know exactly what you have installed." Also, for a special perspective on Cloud-Init, you might enjoy watching Cloud-Init: The Good Parts.
- Proxmox supports Templates. It's possible to create templates with Packer. If interested, you can check Creating proxmox templates with packer.
Before We Start
We need to begin today at the exact stage where we left Part I. Our Debian Installer should be booted and running on our VPS.
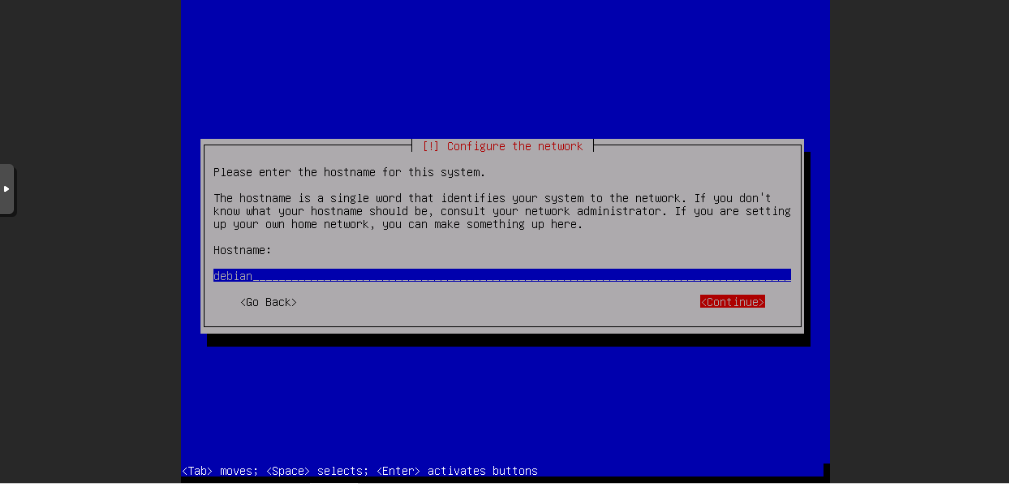
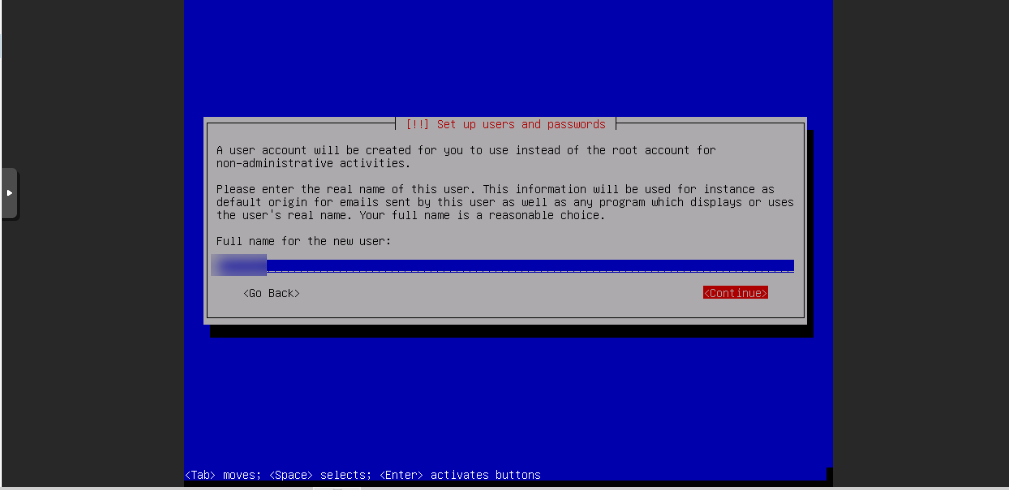
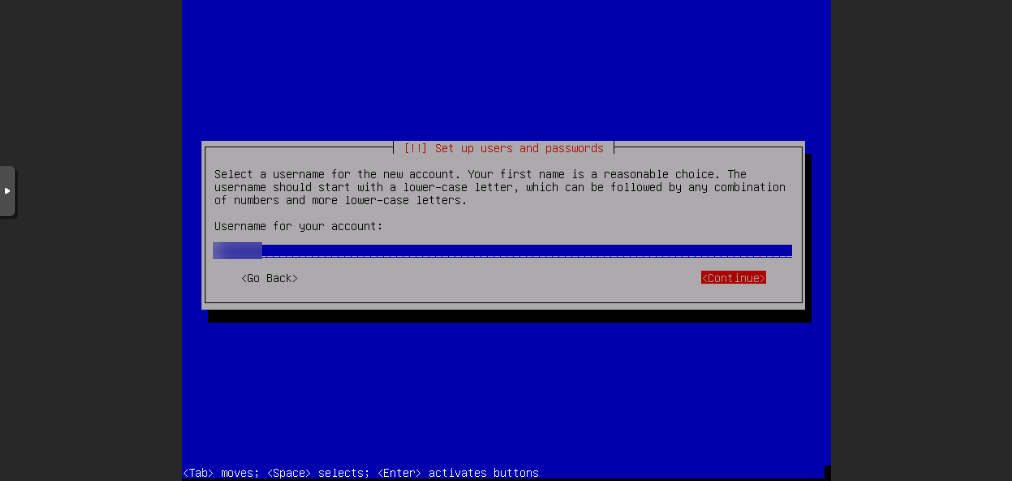
We also will need the server's hostname (which can be Debian) plus the username (which also can be Debian) and the real name for the user account which the installer will create. It's also convenient to have on hand two previously generated good passwords, one for the root account and another for the new user account.
Debian Installer Steps
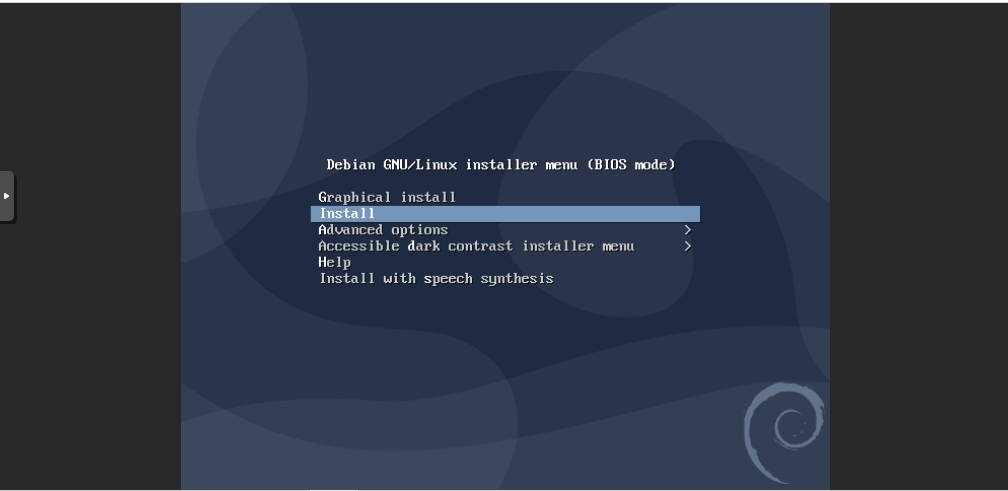
- Select Install
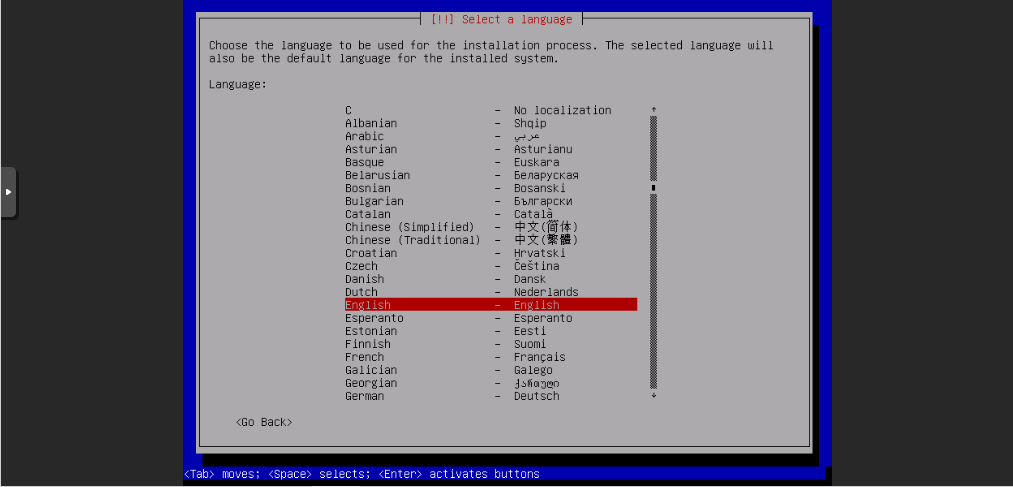
- Language
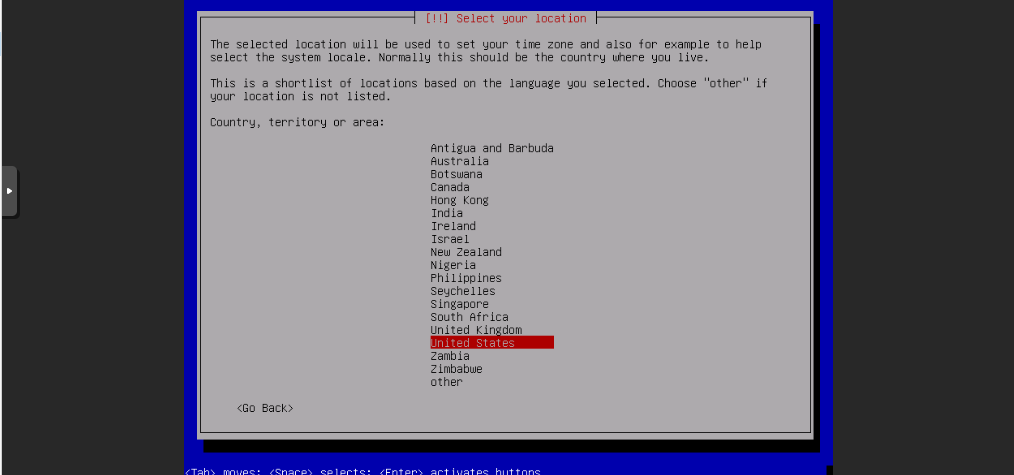
- Location
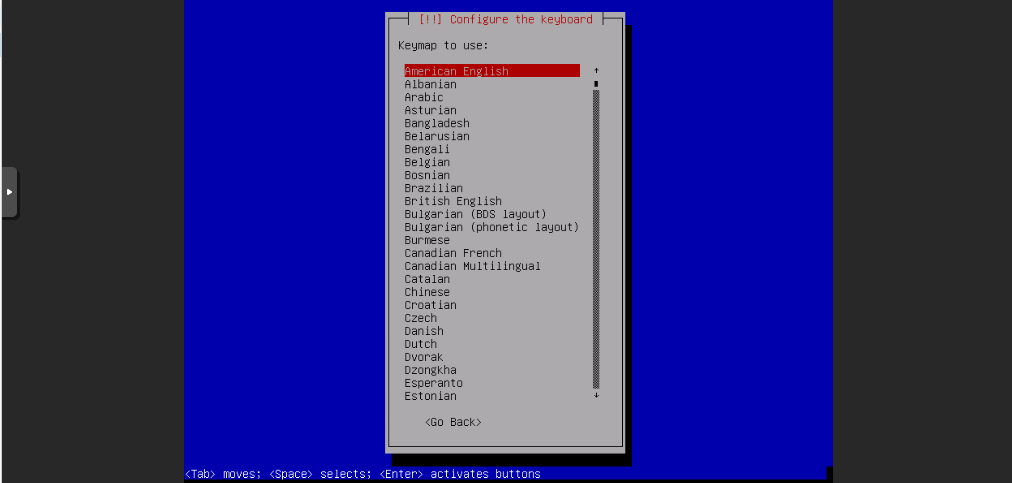
- Keyboard
- DHCP Tries and Fails
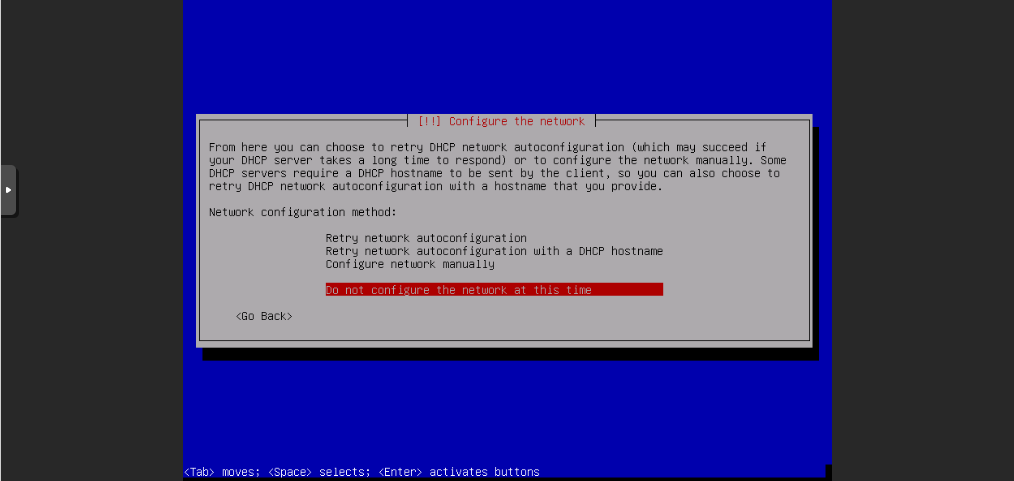
- Select "Do Not Configure Network at this Time"
- Hostname
- Enter and Confirm the Root Password
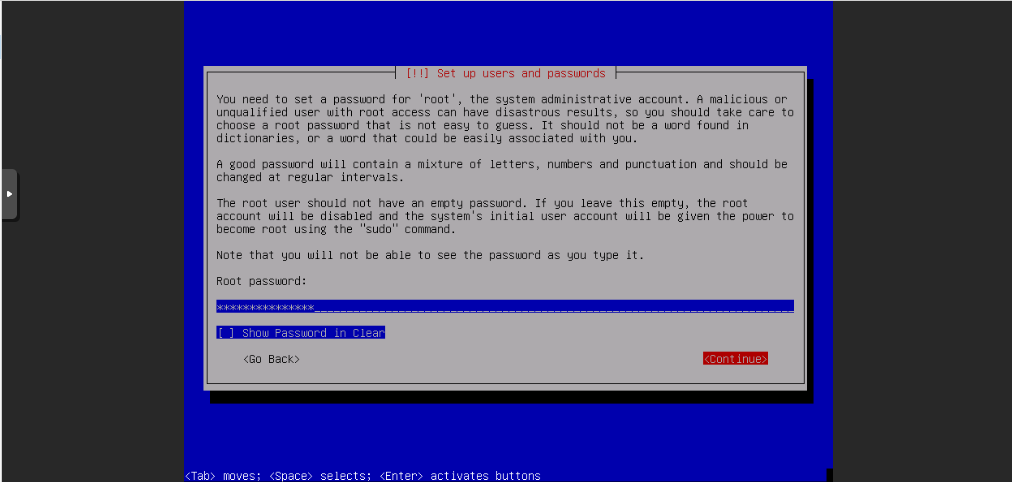
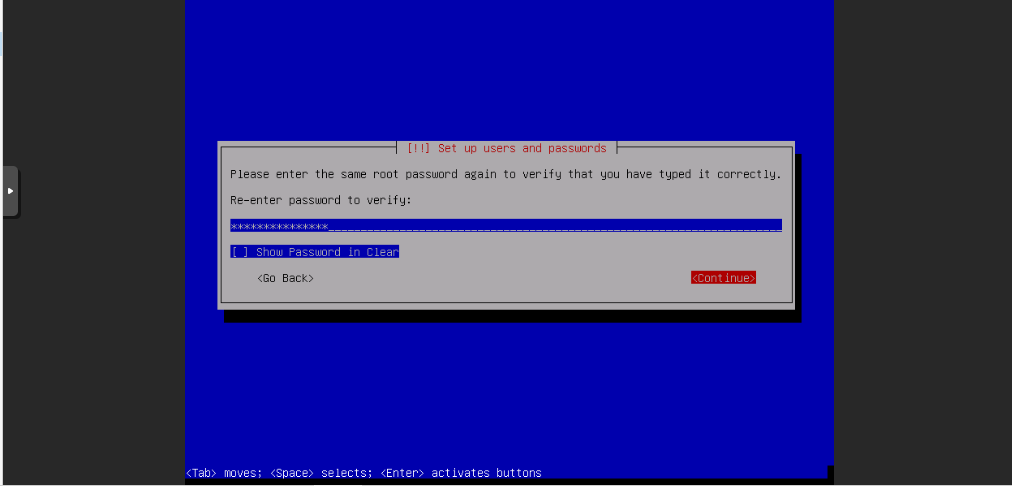
- User's Real Name
- Username
- User Password
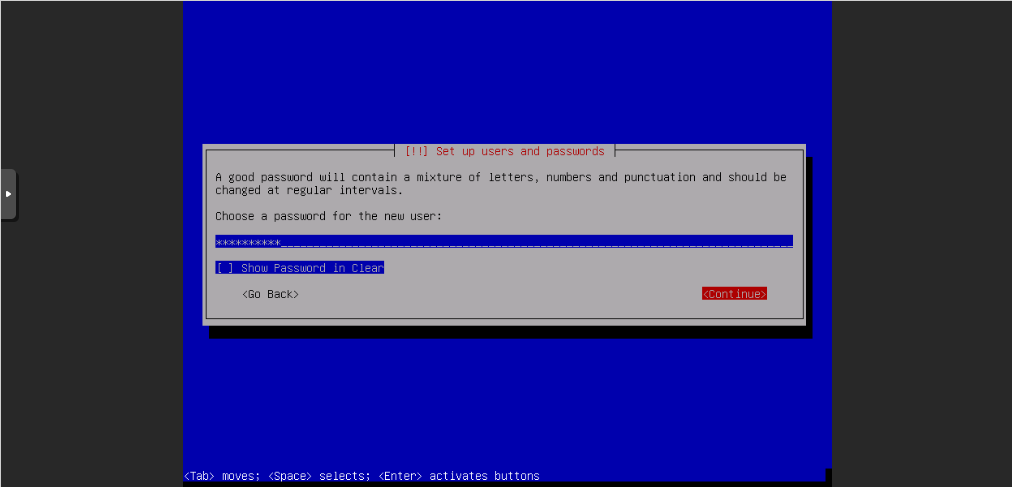

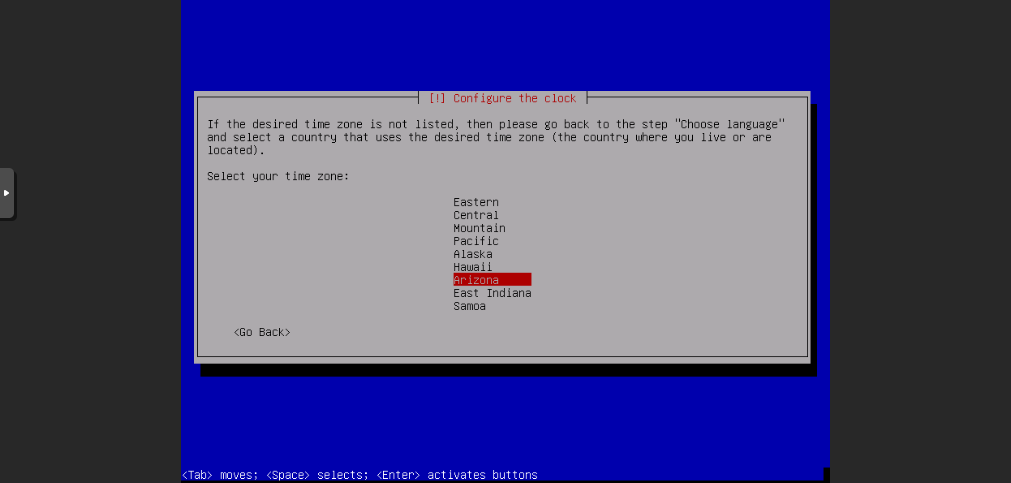
- Time Zone
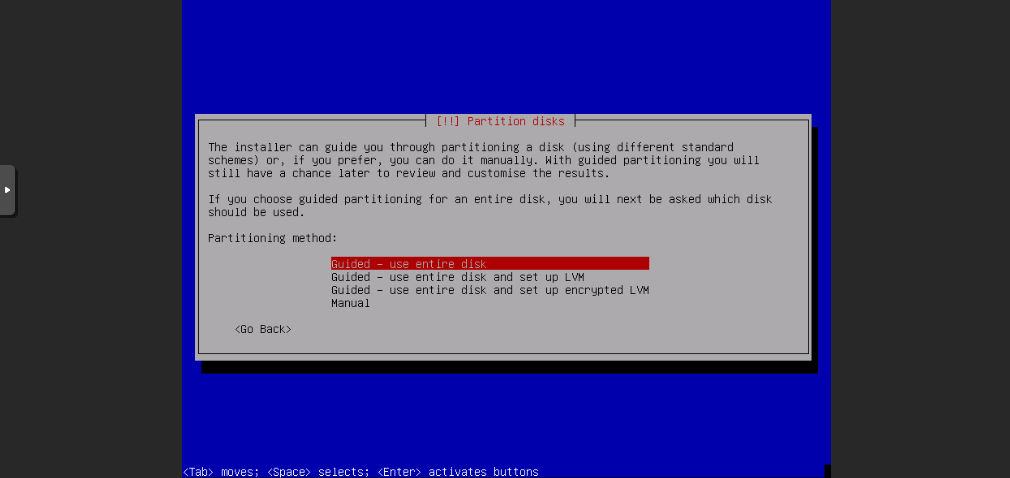
- Partitioning Method
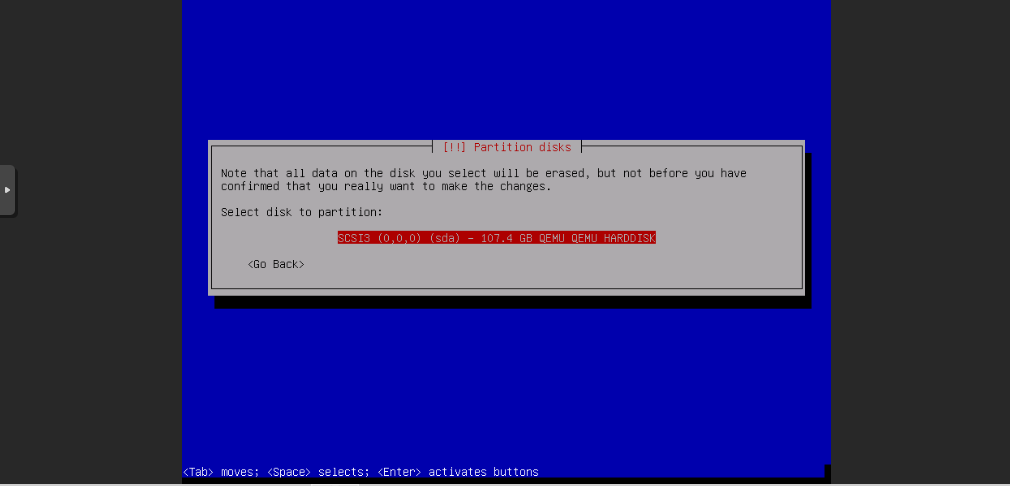
- Disk to Partition
- Partitioning Scheme
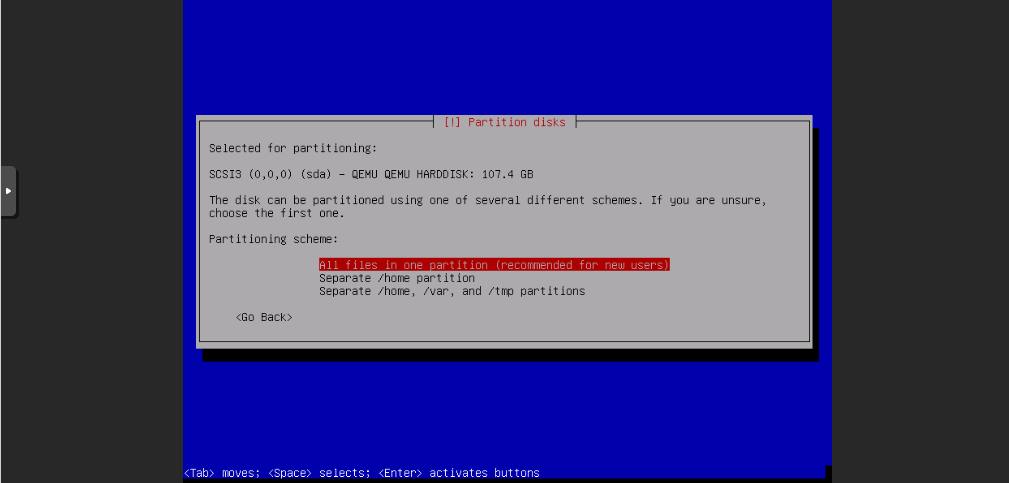
- Confirm Partitioning
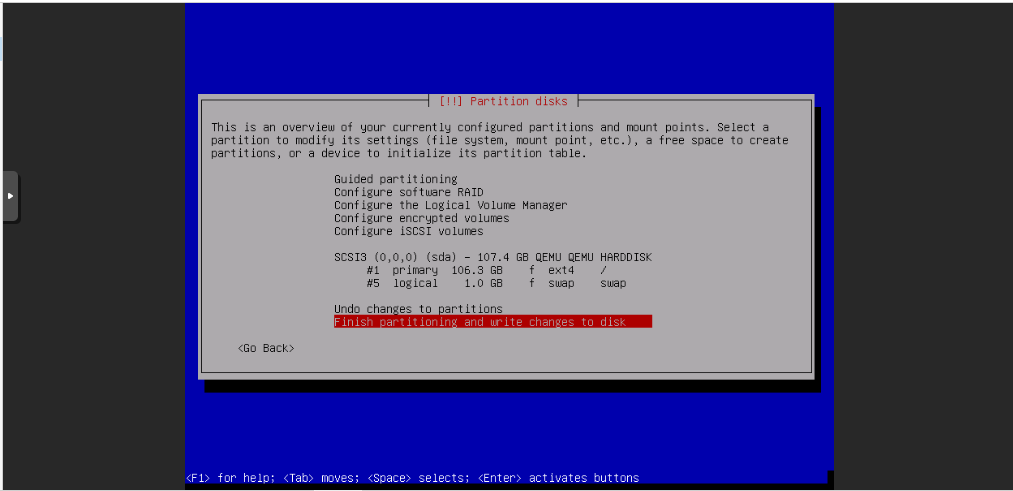
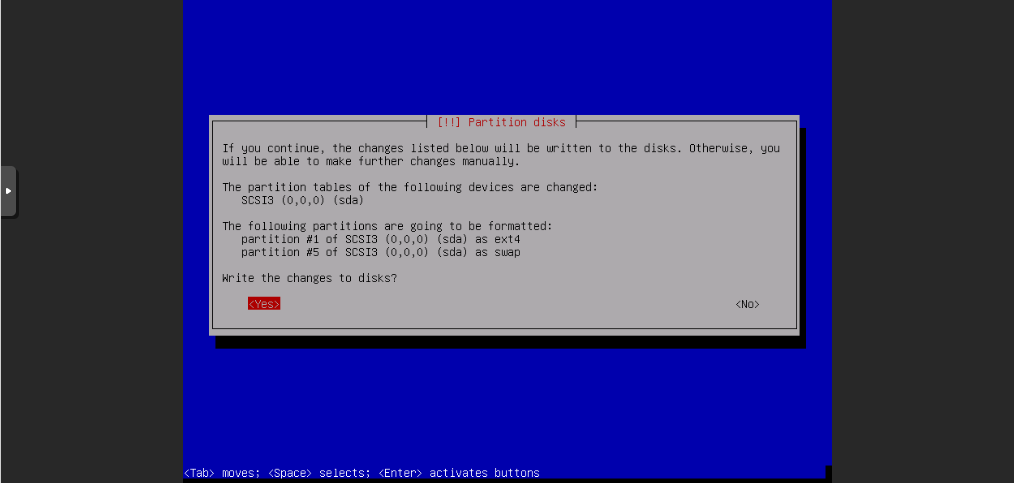
- Write Changes to Disks
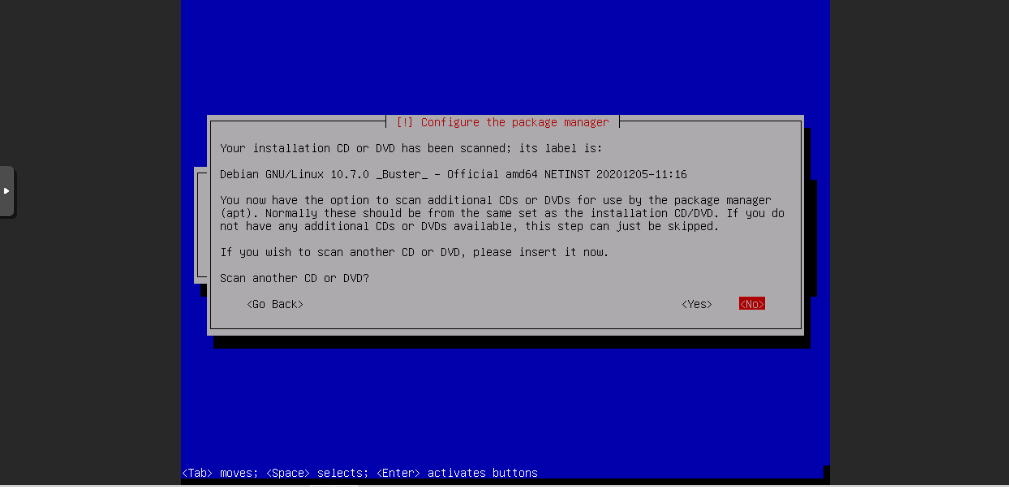
- Confirm No Additional Install Media
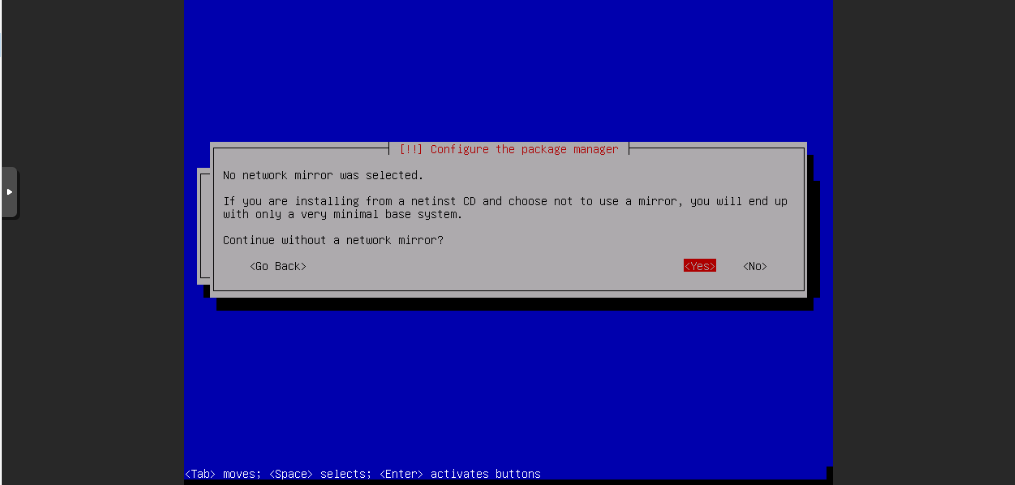
- Confirm No Network Mirror
- Package Usage Survey

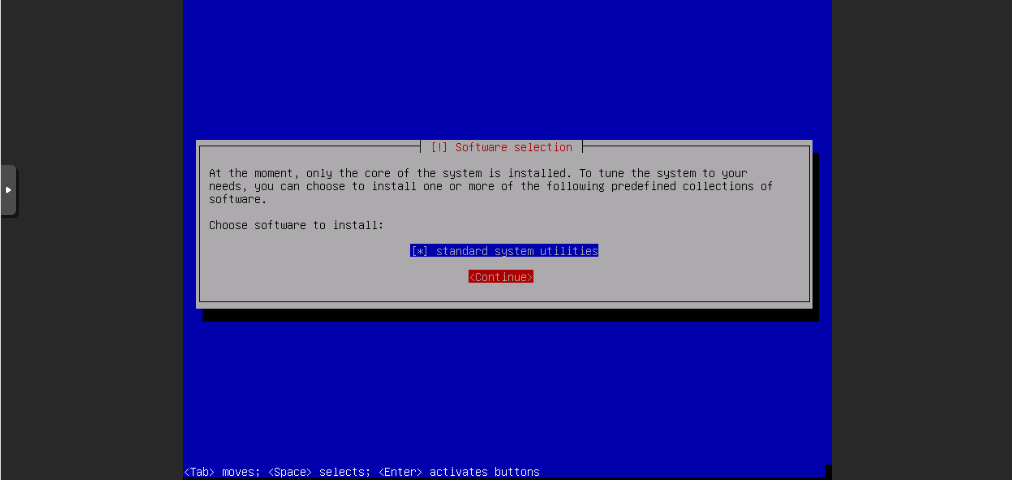
- Choose Additional Software
- Dual Boot
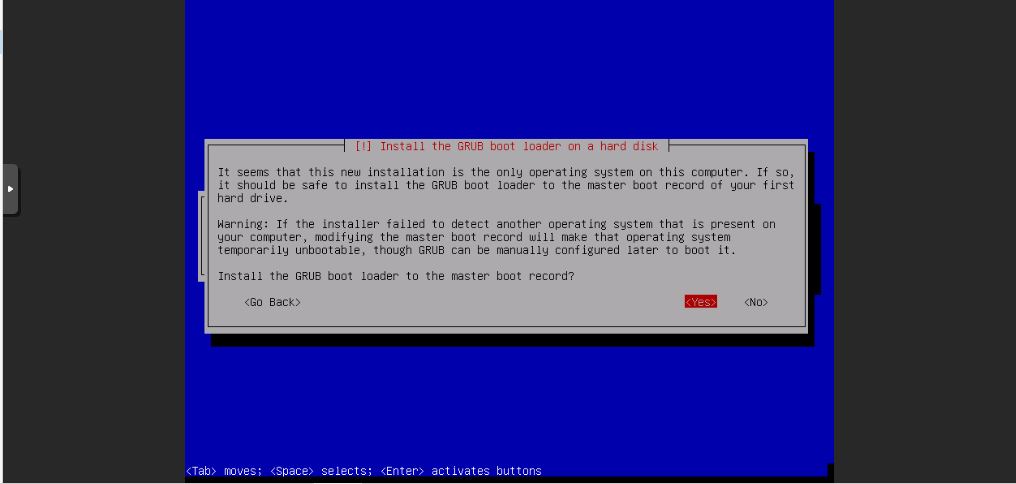
- Grub

- Installation Complete
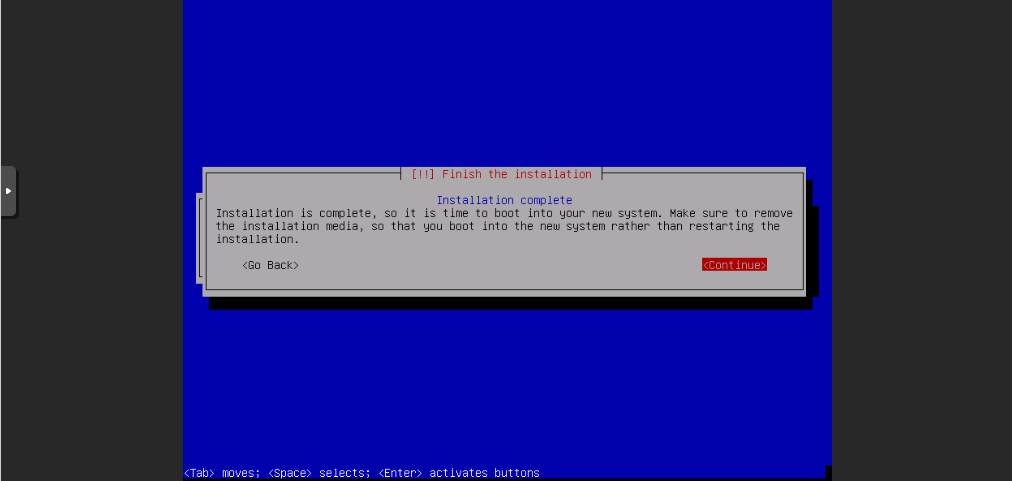
In the Proxmox web GUI, we select VPS > Hardware > CD/DVD Drive. Press edit and select "Do not use any media." Then, we return to our "Installation Complete" screen by selecting Console, which should reappear just as we left it. Finally, we click the "Continue" button, which should reboot the VPS.
In Part I, we did not install Qemu Agent. Therefore, rebooting from the Proxmox web GUI (outside our VPS) as opposed to rebooting from the console (inside our VPS) might not work. However, if it is necessary to stop the server from the web GUI, we can use the web GUI's Stop command found on the drop-down menu of the Shutdown button.
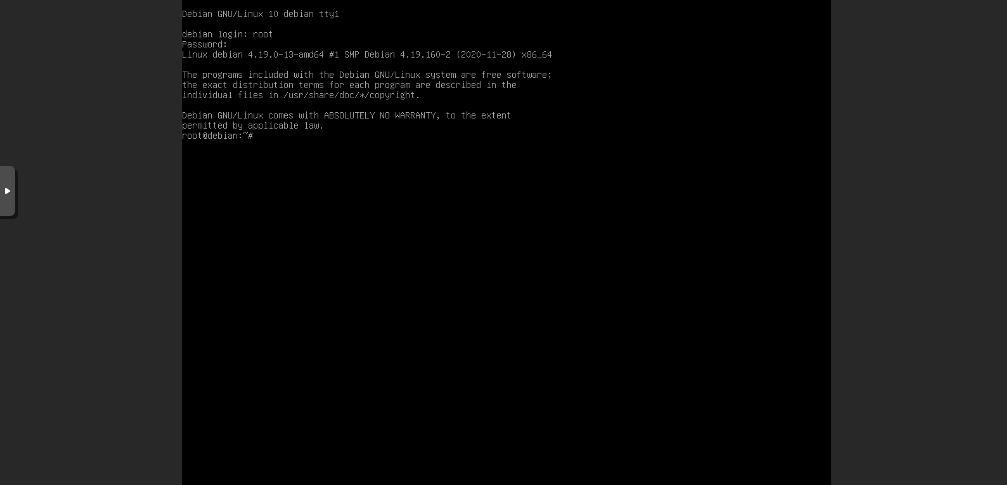
- Successful Reboot
Tom. 穆坦然. Not Oles. Happy New York City guy visiting Mexico! How is your 文言文?
The MetalVPS.com website runs very speedily on MicroLXC.net! Thanks to @Neoon!


Comments
nice.
I bench YABS 24/7/365 unless it's a leap year.
Thanks to @mikho and @Mason plus @vyas, @ehab, and @Ympker for helping with my first Wordpress post!
Tom. 穆坦然. Not Oles. Happy New York City guy visiting Mexico! How is your 文言文?
The MetalVPS.com website runs very speedily on MicroLXC.net! Thanks to @Neoon!
nice sharing Sir
+1
https://microlxc.net/index.php?p=deploy